As an Amazon Associate I earn from qualifying purchases.
Canon SL2 vs SL3: Which Camera Should You Buy?
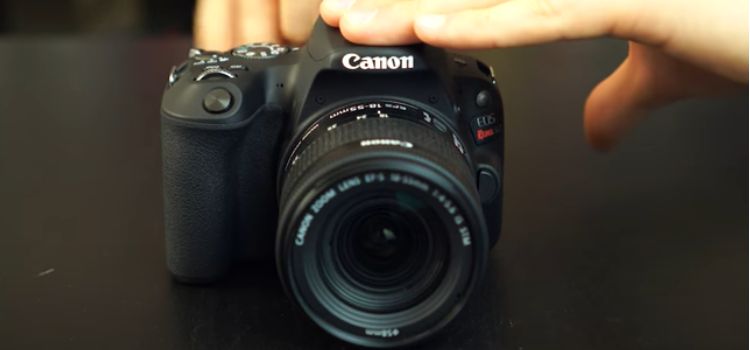
Choosing the right camera is a crucial decision for aspiring photographers, particularly those entering the world of DSLR photography. Canon, a renowned brand in the camera industry, offers two compelling options for beginners: the Canon SL2 and SL3. In this article, we’ll delve into the details of each camera and provide a head-to-head comparison to…
Canon RP vs. R7: Which Camera Should You Buy?
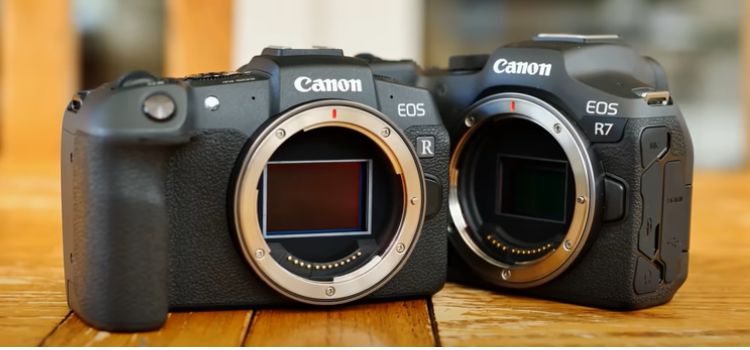
In the realm of mirrorless cameras, the choice between models can be a daunting task. Among the options, the Canon RP and Canon R7 stand out as formidable contenders. As we delve into the details of each camera and pit them against each other in a head-to-head comparison, photographers can gain valuable insights to make…
Canon R8 vs. R: Which Camera Should You Buy?
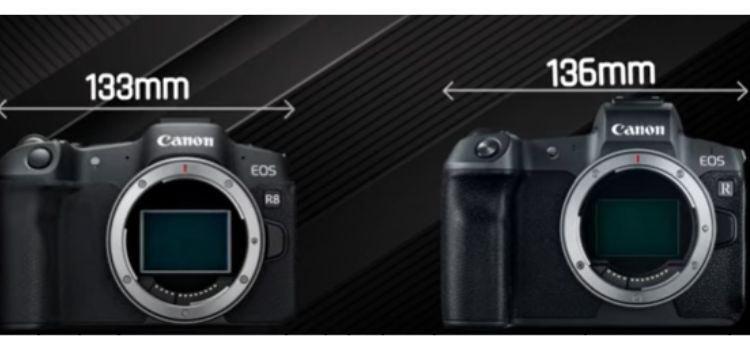
In the ever-evolving landscape of mirrorless cameras, Canon has firmly established itself as a frontrunner, offering cutting-edge technology and innovative features. This article delves into the comparison between two stellar models, the Canon R8 and Canon R, exploring their unique attributes and performance capabilities. Comparison Table Of Canon R8 and Canon R FeatureCanon EOS R8Canon…
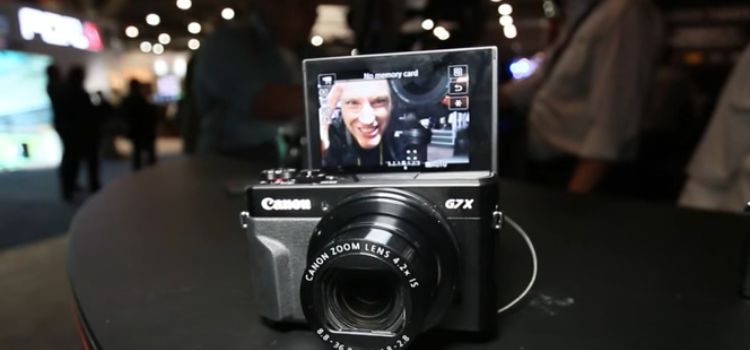
Canon G7 X vs G9 X: Which Camera Should You Buy?
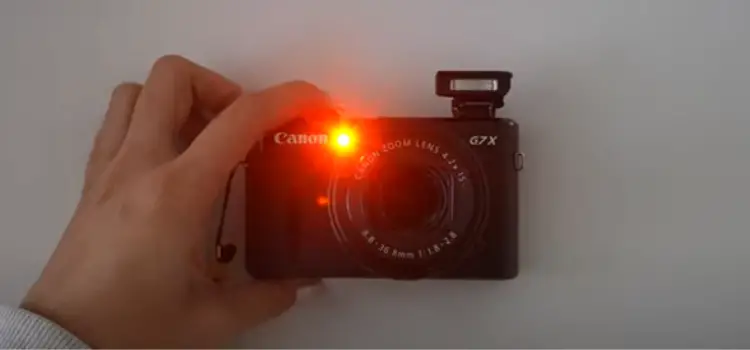
In the realm of compact digital cameras, the Canon G7X and G9X emerge as contenders, each offering a blend of portability and powerful features. This article delves into a comprehensive comparison, dissecting their designs, imaging capabilities, and performance to help you navigate the nuances and make an informed choice between these two Canon PowerShot G…
Canon 5D vs 5DS R: Which Camera Should You Buy?
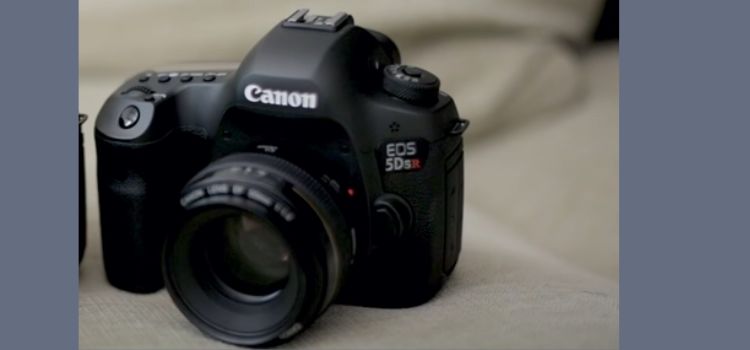
The Canon 5D series has long been revered in the photography industry for its exceptional performance and versatility. In this article, we delve into the nuances of two prominent members of this series: the Canon 5D and 5DS R. By examining their individual features and performances, we aim to provide photographers with insights to help…
Canon C70 vs. R5C: Which Camera Should You Buy?
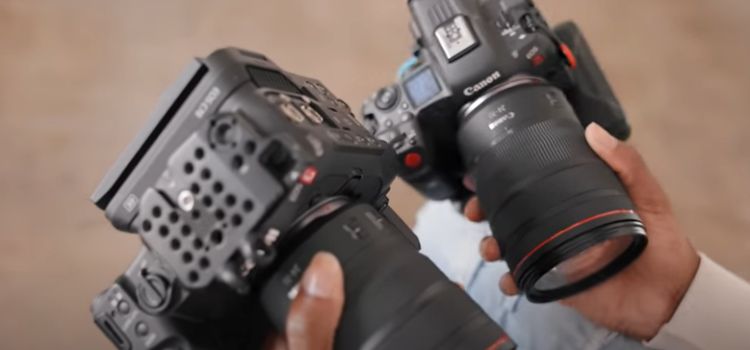
The realm of professional filmmaking and content creation has been significantly impacted by the technological advancements in the field of digital cinema cameras. Among the leading contenders in this space are Canon’s C70 and R5C, two cameras designed to cater to the diverse needs of filmmakers. In this article, we will delve into an in-depth…
Canon R5 vs. R7: Which Camera Should You Buy?
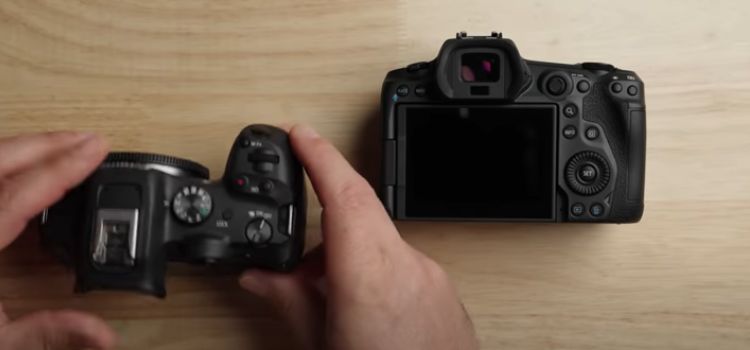
Canon has long been a dominant force in the camera industry, and its foray into the mirrorless market has been marked by notable releases like the Canon R5 and R7. These two cameras represent the pinnacle of Canon’s mirrorless technology, each catering to the different needs of photographers and videographers. In this article, we will…
Canon 5DS vs canon 5D MIV: Which Camera Should You Buy?
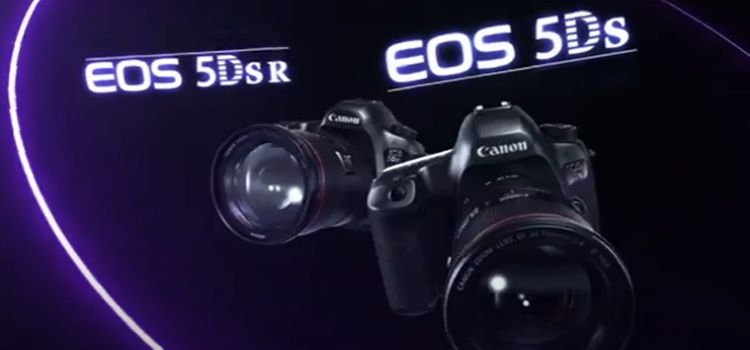
The Canon EOS 5DS and Canon EOS 5D Mark IV are two powerful cameras catering to different needs within the photography community. In this detailed comparison, we will delve into the key features, performance, and specifications of each camera, followed by a head-to-head analysis to help you make an informed decision. Specs Table Of Canon…
Sony RX10 vs. Canon SX70: Which Camera Should You Buy?
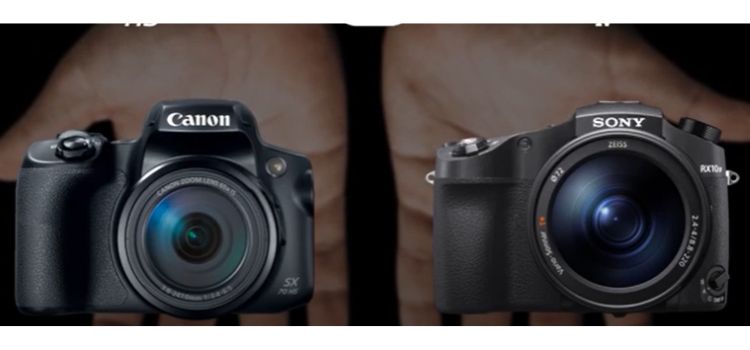
In the ever-evolving world of digital photography, choosing the right camera can be a daunting task. Two contenders that often find themselves in the spotlight are the Sony RX10 and the Canon SX70. These bridge cameras offer a balance between the convenience of point-and-shoot devices and the advanced features of DSLRs. Let’s delve into a…
Fujifilm XT5 vs. Canon R6: Which Camera Should You Buy?
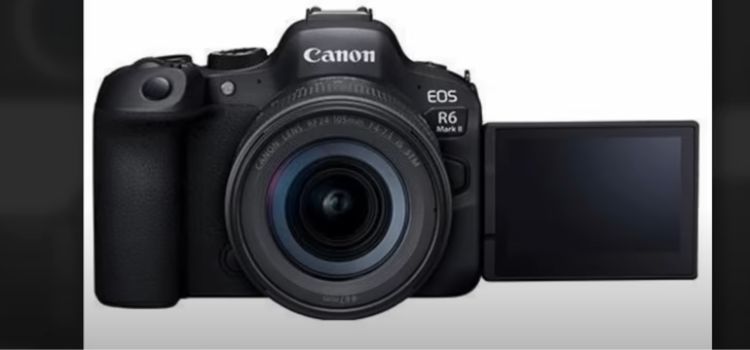
The realm of mirrorless cameras has witnessed a constant evolution, with each new release pushing the boundaries of technology and performance. Among the contenders for the top spot in this competitive arena are the Fujifilm XT5 and the Canon R6. In this article, we delve into the intricacies of these two cameras, exploring their key…
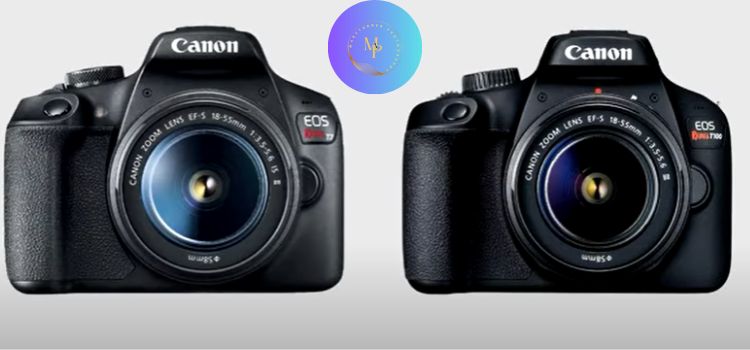
Canon T7 vs. T6I: Which Camera Should You Buy?
Canon has long been a formidable player in the digital camera market, consistently delivering cameras that cater to a wide range of photographers. In this article, we delve into the specifics of two popular Canon models—the Canon T7 and the Canon T6i. These cameras, while hailing from different series, are often compared due to their…
Canon R10 vs. Sony A6100: Which Camera Should You Buy?
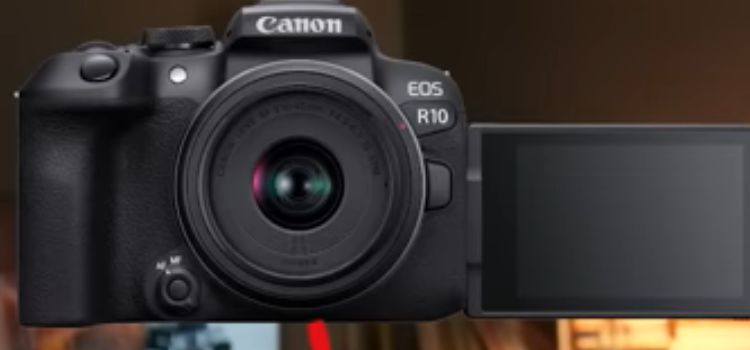
Mirrorless cameras have become increasingly popular, offering a perfect blend of portability and advanced features. In this rapidly growing market, two giants, Canon and Sony, have made their mark with the Canon EOS R10 and the Sony Alpha a6100. This article aims to provide a detailed comparison of these two mirrorless cameras, delving into their…
Canon G9 vs. G12: Which Camera Should You Buy?
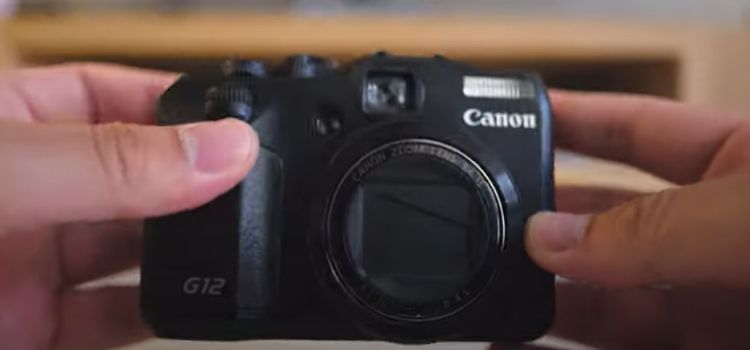
In the realm of advanced compact cameras, Canon has consistently delivered cutting-edge technology and features, catering to both amateur photographers and enthusiasts. In this article, we delve into the intricacies of two remarkable models: the Canon G9 and the Canon G12. As we explore their design, performance, and capabilities, we aim to provide readers with…
Canon G7 X vs. G7 X Mark II: Which Camera Should You Buy?
The Canon G7X and G7X Mark II are renowned compact cameras that have garnered the attention of photography enthusiasts and professionals alike. In this article, we will delve into the features, improvements, and differences between the two models to help you make an informed decision. Comparison Table Of Canon G7 X vs Canon G7 X…
Canon 60D vs. 2000D: Which Camera Should You Buy?
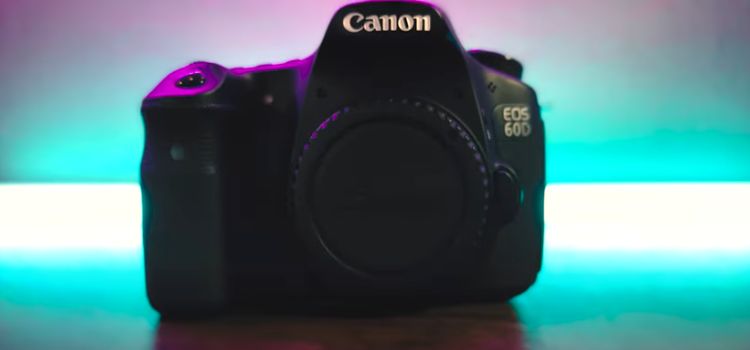
Photography enthusiasts and professionals often find themselves at a crossroads when choosing between different camera models. In this comparison, we delve into the features and specifications of two Canon DSLRs, the Canon 60D and the Canon 2000D, to help you make an informed decision. Comparison Table Of Canon 60D vs. 2000D FeatureCanon 60DCanon 2000DDesign and…
Canon 2000D vs. T7: Which Camera Should You Buy?

Canon, a renowned name in the world of photography, offers a diverse range of cameras to cater to various skill levels and preferences. In the entry-level DSLR category, two models stand out: the Canon 2000D and the Canon T7. Both cameras target novice photographers seeking an affordable yet feature-rich device to kickstart their photographic journey.…
Canon SL3 vs T7: Which Camera Should You Buy?
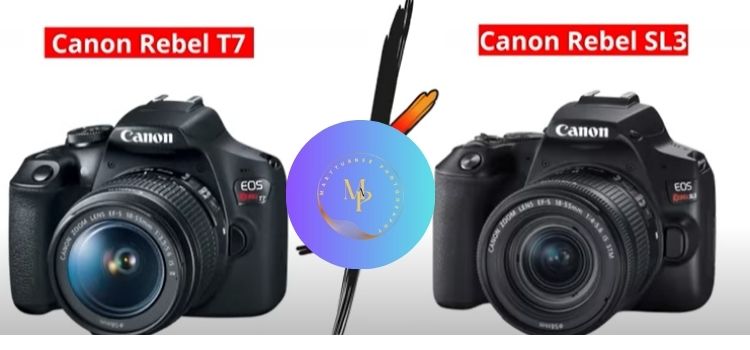
Canon, a renowned name in the world of photography, offers a diverse range of cameras to cater to the varying needs of photographers. In this article, we delve into the detailed comparison of two popular models: the Canon SL3 and the Canon T7. We’ll explore the unique features, specifications, and performance of each camera, followed…
Canon T7 vs Nikon D3500: Which Camera Should You Buy?
In the ever-evolving world of photography, choosing the right camera is a crucial decision, especially for beginners. Entry-level DSLR cameras offer an excellent starting point, providing a balance between functionality and simplicity. In this article, we will delve into a head-to-head comparison of two popular choices in this category: the Canon T7 and the Nikon…
Canon T5 vs T7: Which Camera Should You Buy?

In the ever-evolving world of digital photography, choosing the right camera can be a daunting task. Canon, a renowned name in the camera industry, offers a range of options to cater to diverse user needs. In this article, we delve into the Canon T5 and T7, comparing their features, performance, and overall value. Comparison Table…
Canon M50 vs Rebel T7: Which Camera Shoud You Buy?
In the ever-evolving world of digital photography, choosing the right camera is crucial for both enthusiasts and professionals alike. Canon, a leading brand in the camera industry, offers a range of models catering to various needs. In this article, we will delve into a detailed comparison of two popular Canon models: the Canon M50 and…
Canon T7 vs T8I: Which Camera Should You Buy?
In the vast landscape of digital cameras, choosing the right model can be a daunting task, especially for photography enthusiasts seeking the perfect blend of features and performance. Canon, a reputable name in the imaging industry, offers a range of cameras catering to various needs. In this article, we delve into the detailed comparison of…
Canon T6 vs T7: Which Camera Should You Buy?
In the world of digital photography, Canon has been a trusted name for decades, offering a wide range of cameras catering to diverse needs. Two popular models in the entry-level segment are the Canon T6 and Canon T7. In this article, we’ll delve into the features, performance, and specifications of these two cameras to help…
Canon T100 vs T7: Which Camera Should You Buy?
In the vast world of photography, choosing the right camera is a crucial decision, especially for beginners eager to explore the art of capturing moments. Canon, a renowned brand in the industry, offers a range of entry-level DSLRs, each tailored to meet the needs of budding photographers. In this article, we delve into the comparison…
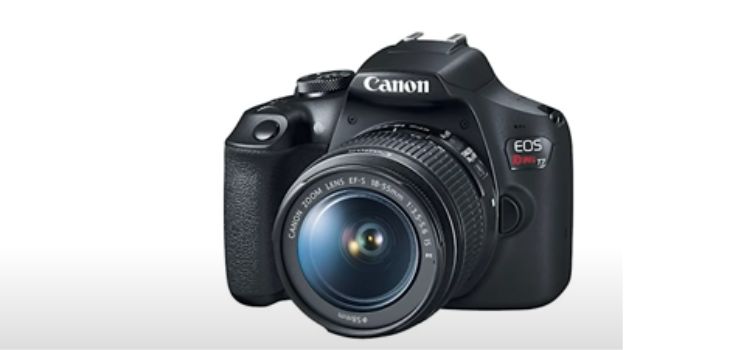
Is The Canon Rebel T7 Weather Sealed?
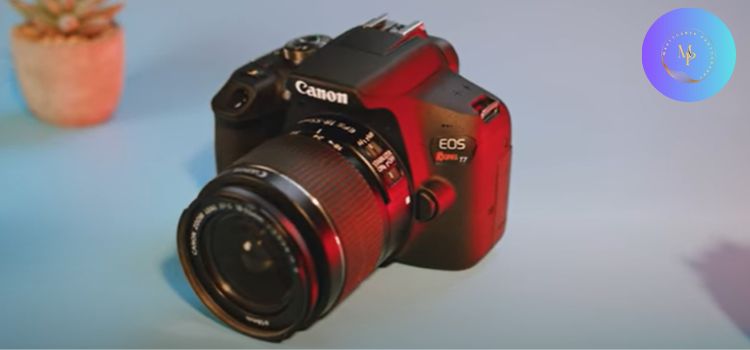
The Canon Rebel T7 has gained popularity among entry-level photographers for its affordability and features. One key consideration for users often revolves around a camera’s ability to withstand the elements. In this exploration, we delve into a fundamental question: Is the Canon Rebel T7 weather-sealed? Understanding weather sealing Before we unravel the mystery surrounding the…
How To Reset Canon Rebel T7?
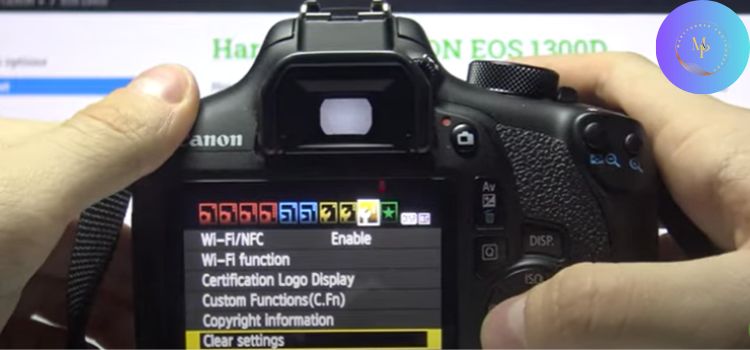
The Canon Rebel T7 is a popular digital camera known for its impressive features and capabilities. However, like any electronic device, it encounters issues that require a reset to restore it to its default settings. In this guide, we’ll walk you through the process of resetting the Canon Rebel T7, addressing common scenarios that necessitate…
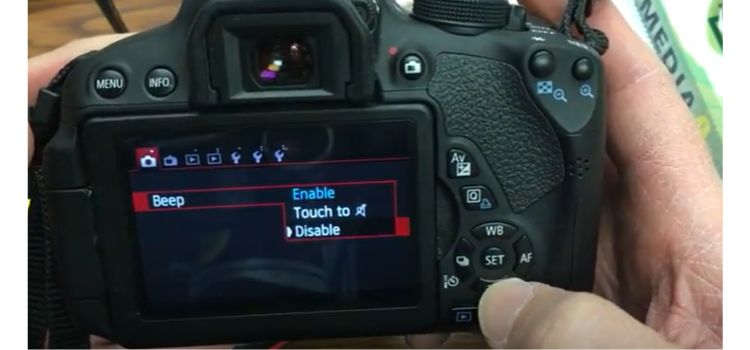
How To Turn Off and On Flash On Canon Rebel T7?
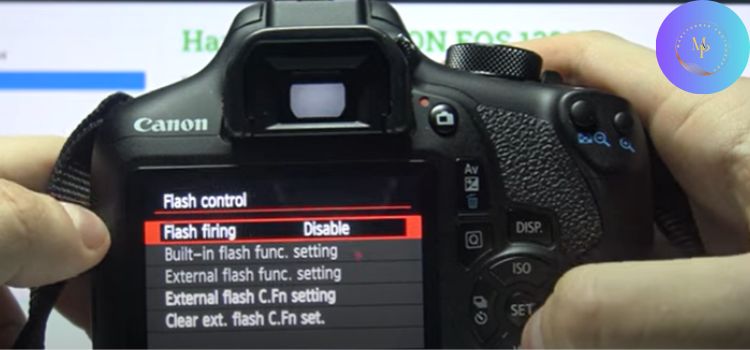
In the world of photography, understanding how to manipulate your camera settings is crucial to achieving the desired outcome. One important skill every photographer should master is the ability to turn off and on the flash when necessary. In this guide, we’ll delve into the specifics of the Canon Rebel T7, offering step-by-step instructions on…
Canon G7X Mark III vs Panasonic TZ200: Which One Is Best?
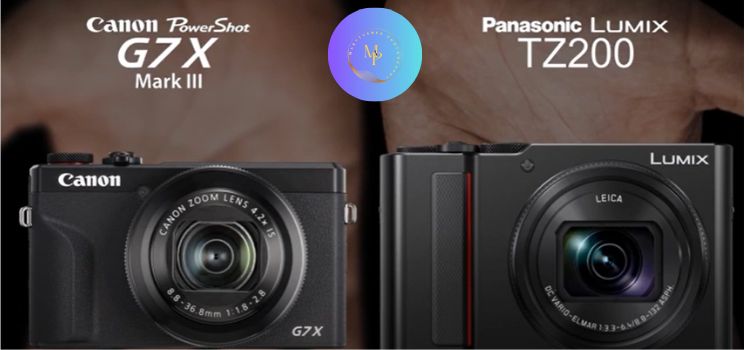
In the realm of compact digital cameras, the Canon PowerShot G7X Mark III and Panasonic Lumix DC-TZ200 stand out as formidable contenders, each boasting unique features that cater to diverse photography preferences. In this article, we’ll delve into a comparative analysis of these two compact cameras, exploring their key specifications and capabilities. Comparison Table: Canon…
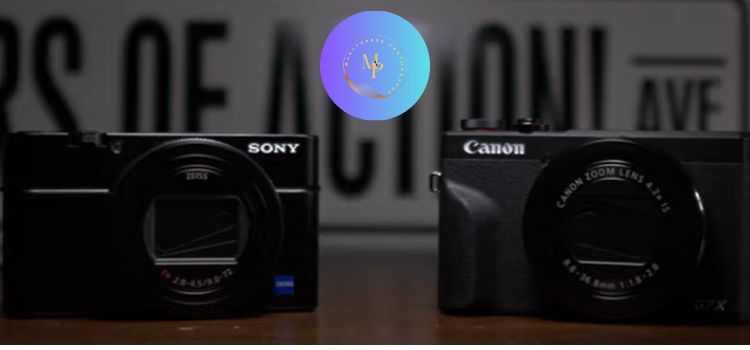
Canon G7X Mark III vs Sony ZV-1: Which One Should You Buy?
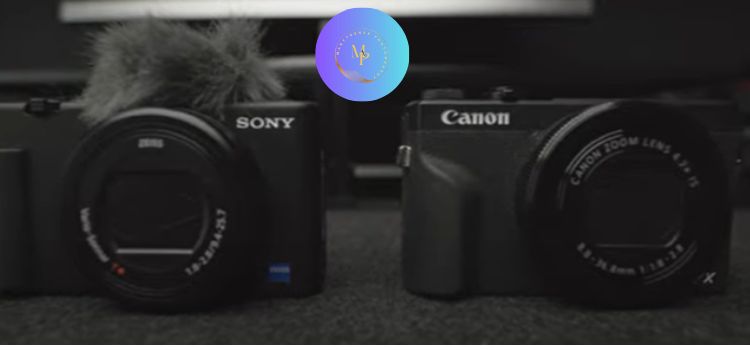
In the world of compact cameras tailored for content creation, the Canon PowerShot G7X Mark III and Sony ZV-1 stand out as formidable contenders, each bringing a unique set of features and capabilities. If you’re a vlogger, a travel enthusiast, or someone passionate about high-quality imaging, the choice between these two cameras can significantly impact…
Sony RX100 VII vs Canon G7X Mark III: Which One Is Best?
In the ever-evolving world of digital photography, choosing the right compact camera can be a daunting task. Two formidable contenders in this space are the Sony RX100 VII and the Canon G7X Mark III. These compact powerhouses boast advanced features, impressive imaging capabilities, and portability that make them favorites among photography enthusiasts. In this detailed…
How To Turn Flash On Canon G7X Mark II?

In the realm of photography, the Canon G7X Mark II stands out as a versatile and compact camera, perfect for capturing stunning moments. However, to truly harness its potential, understanding how to effectively use the built-in flash is crucial. This article will guide you through the process of turning on the flash on your Canon…
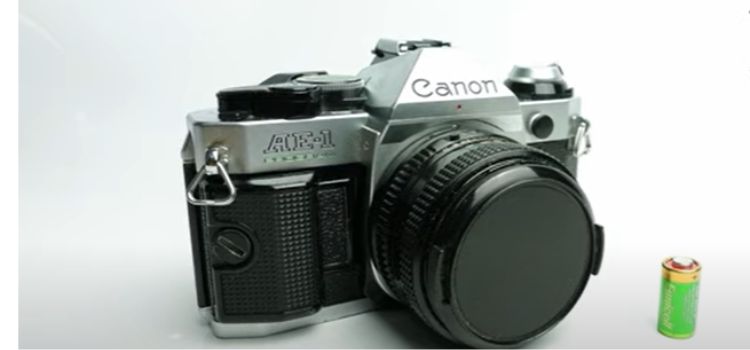
Canon FT vs. AE-1: Which Camera Should You Buy?

When delving into the world of classic 35mm film cameras, two models that often stand out are the Canon FT and the Canon AE-1. Both released during the analog photography era, these cameras showcase Canon’s commitment to quality and innovation. This article aims to provide a detailed comparison of the Canon FT and AE-1, exploring…
Canon AE-1 vs Canon A-1: Which Camera Should You Buy?
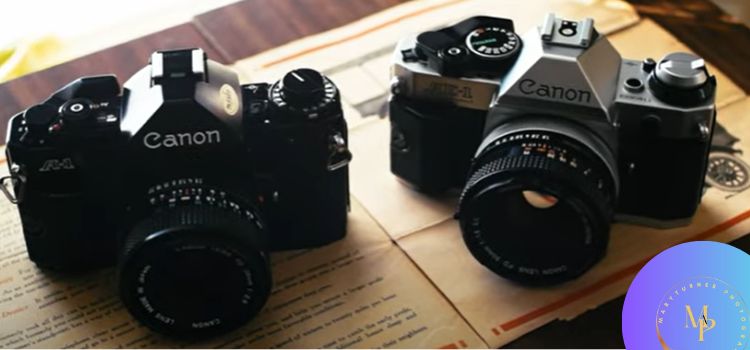
In the realm of classic 35mm film SLR cameras, the comparison between the Canon AE-1 and the Canon A-1 is a journey through the evolution of analog photography. The AE-1, renowned for its simplicity and iconic design, meets its more advanced counterpart, the A-1, equipped with enhanced features and creative controls. This brief exploration aims…
Pentax K1000 vs Canon AE-1: Which Camera Should You Buy?
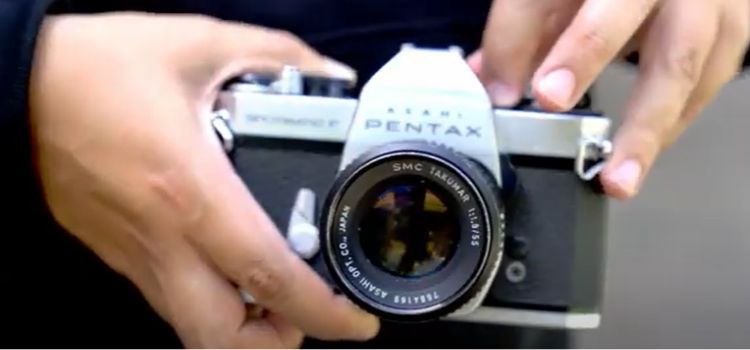
The Pentax K1000 and Canon AE-1 are iconic 35mm film cameras that gained popularity in the 1970s and 1980s. The Pentax K1000 is known for its simplicity and reliability, while the Canon AE-1 features advanced automatic exposure capabilities. These cameras played a crucial role in the democratization of photography, offering accessible tools for enthusiasts and…
What Battery Does Canon AE 1 Use?
In the world of vintage photography, the Canon AE-1 stands as a timeless classic, captivating photographers with its iconic design and groundbreaking features. To keep this vintage gem operational, understanding its power source is crucial. Let’s delve into the question: What battery does the Canon AE-1 use? Canon AE-1 Battery Specifications The Canon AE-1 camera…
How To Use A Canon AE-1?
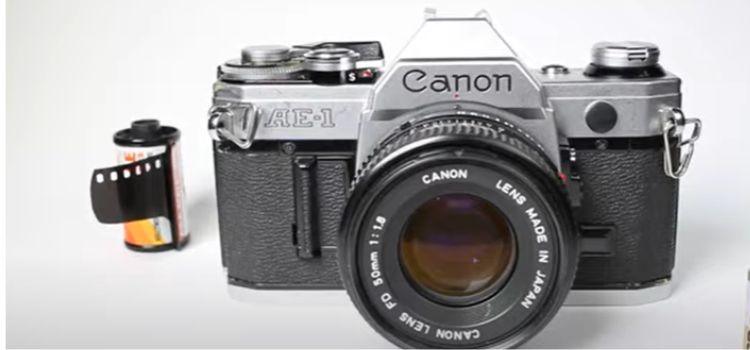
The Canon AE-1 is more than just a vintage camera; it’s a time-tested masterpiece that has left an indelible mark on the world of photography. In this comprehensive guide, we’ll delve into the intricacies of the Canon AE-1, exploring its features and functions, and providing invaluable tips to help you unlock its full potential. Features…
Why Is My Canon Camera Taking Blurry Pictures?
In the vibrant world of photography, there’s little more disheartening than reviewing your captured moments only to find that your Canon camera is taking blurry pictures. Many amateur photographers face this common challenge due to various factors. Understanding these issues and knowing how to address them is crucial for those who aspire to capture crystal-clear…
How To Change The Brightness On A Canon Camera?

In the vibrant world of photography, mastering the art of adjusting brightness on your Canon camera is a crucial skill that can make or break your shots. Whether you’re capturing a brilliant sunset or navigating a dimly lit indoor scene, understanding how to manipulate brightness settings empowers you to seize the perfect moment. In this…
How To Add Watermark In Canon Camera?

In the ever-evolving landscape of digital photography, safeguarding creative endeavors has become a necessity. This comprehensive guide unveils the art of watermarking for Canon camera users, showcasing three distinct methods to fortify the security and identity of their photographic narratives. From the intuitive in-camera watermarking feature to Canon’s powerful Digital Photo Professional software and the…
How To Turn Off Timer On Canon Camera?
In the fast-paced world of photography, every second counts. Knowing how to navigate your Canon camera’s settings efficiently is crucial for capturing those perfect moments without delays. In this guide, we’ll delve into the process of turning off the timer on your Canon camera, ensuring you’re always ready to seize the shot. How to turn…
How Long Does Canon Backorder Take?
In the ever-evolving world of technology, the demand for Canon products is skyrocketing, leading to the inevitable occurrence of backorders. But how long does it really take for Canon backorders to be fulfilled? In this article, we’ll delve into the intricacies of Canon backorders, exploring the factors that influence their duration, and providing practical tips…
How To Increase Shutter Speed On Canon Camera?
Capturing the perfect shot often requires more than just a keen eye; it demands a mastery of your camera settings. One crucial aspect that can significantly impact your photography is shutter speed. In this guide, we’ll walk you through the steps to increase the shutter speed on your Canon camera, empowering you to freeze fast-paced…
How To Clean Canon Camera Mirror?
Your Canon camera is a powerful tool for capturing breathtaking moments, but over time, the mirror inside can accumulate dust and smudges, compromising image quality. In this guide, we’ll take you through a detailed process to clean your Canon camera mirror, allowing you to unleash the full potential of your photography. Understanding the camera mirror…
How To Charge A Canon Camera Battery Without A Charger?

Photography enthusiasts and professionals alike have encountered the dreaded scenario: you’re in the midst of a captivating photoshoot, and suddenly, your Canon camera battery signals a low charge. Panic sets in as you realize you don’t have your charger. What do you do? Fear not! In this guide, we’ll explore effective methods to charge your…
How To Attach A Canon Camera Strap?
Embarking on your photographic journey with a Canon DSLR is an exciting adventure, and mastering the basics is key. One fundamental skill is properly attaching your camera strap. In this comprehensive guide, we’ll walk you through the step-by-step process of putting on a Canon camera strap, ensuring your gear stays secure and ready for action.…

Amazon and the Amazon logo are trademarks of Amazon.com, Inc, or its affiliates.